instructions contributed by RockFox of the Courier Beta Team
Courier does not have native SSL
support at this time. You can use an SSL tunnel program such as Stunnel, which is free.
These instructions have only been tested in Windows XP Pro SP2 and only
with Gmail. Internet Explorer 7.0 is the bowser.
To install Stunnel you need to know a few basic functions of running
Windows:
I suggest that you read through the entire tutorial before you
begin to install. If you are not familiar with installing
software then you should view the Screen Shots indicated by
SS after each step
Experienced users should read the notes near the bottom..
There are 7 simple steps to setup Stunnel
(SSL) for Gmail:
1) Click here to download and
install Stunnel
4.20 from the Stunnel web site.
a) A window will pop-up asking Do
you want to run or save this file? Click on Run
SS
b) You will get a Security
Warning: The publisher could
not be verified.
Are you sure you want to run this software? Click on Run
SS
c) A window will open with
the License Agreement. Click
on I Agree
SS
d) Next is
the
Installation Options window. Both items will
be ticked. Click on Next
SS
e) Next is the Installation Folder with the
default
C:|Program
Files\stunnel\
Click on
Install SS
f) Next is a window that
says
Setup Complete Click on Close
SS
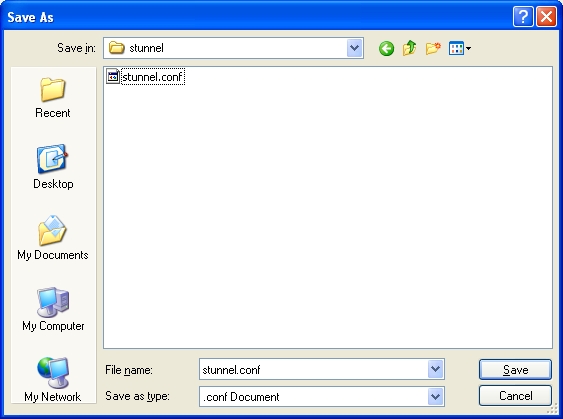
2) Right click here on Stunnel
configuration file then click on
Save Target As...
into C:\Program
Files\Stunnel\ folder
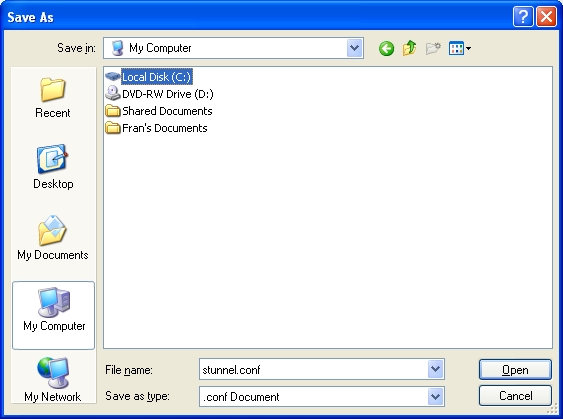
a) Click on My Computer in the Save
As window
b) Double click on Local Disk (C:)
SS
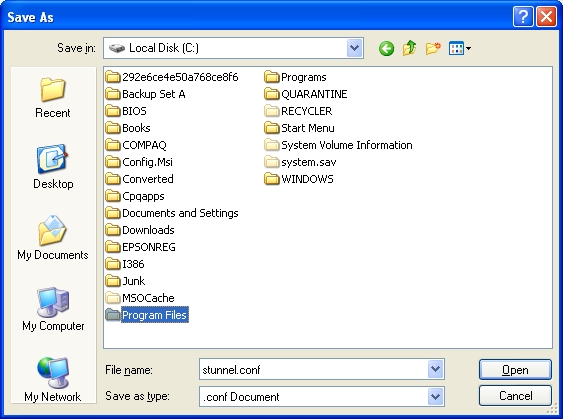
c) Double click on Program Files
SS
d) Scroll right until you find stunnel
e) Double click on stunnel
SS
f) Click on Save
SS
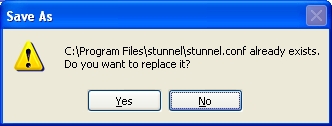
g) Click on Yes
3) You will want to install
Stunnel as a service so that it will
start automatically when you boot.
Click on Start => All Programs => stunnel => Service
install
Stunnel is now installed. Next we will configure Courier
4) Start Courier
a) Click Mailbox => Accounts => Add to get the Courier
account Wizard
b) Enter a name for this account,
suggest Gmail
c) Enter your real name, anythig you wish
d) Enter your Gmail address, abc123@gmail.com
SS
e) Click Next
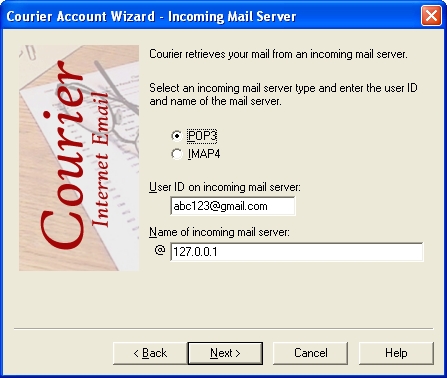
f) Choose POP3
g) Your User ID on Gmail,
abc123@gmail.com for
example
h) Incoming mail server is 127.0.0.1 (To
connect to Stunnel) SS
i) Click Next
j) Password authenitication is Normal
k) Enter you password and
confirm SS
l) Click Next
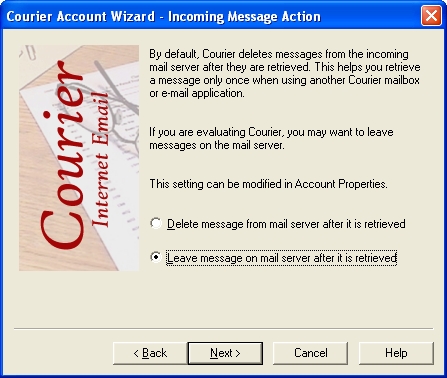
m) Incoming
Message Action - your
choice SS
n) Click Next
o) Outgoing
Mail Server
p) Name of SMTP mail server: 127.0.0.1
q) Select authentication
method Use POP
Account SS
p) Click Next
q) Click Finish
5) a) Click
Mailbox
=> Accounts => Properties => Gmail
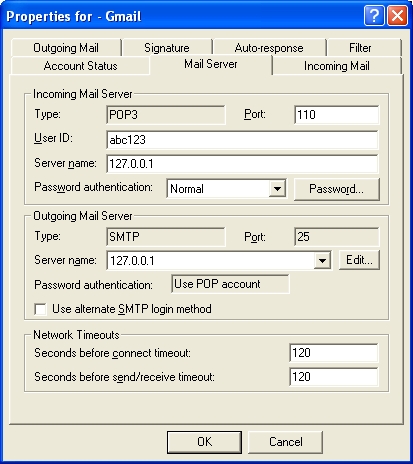
b) Click on Mail Server tab
C) Your
Gmail Properties should
look like this:
6) Either reboot to start
Stunnel or
Click on Start
=> All Programs =>
stunnel => Run
Stunnel
7) Logon to gmail.com
a) Click on Settings (on top
right of window)
b) Click on Forwarding and POP/IMAP
c) Chose Enable POP for
all mail or
mail that arrives from now on
d) Click on Save changes
Notes: The KISS (Keep It
Simple Stupid) method was used throughout the turorial with
the novice user in mind. Hence the install goes into the default
directory but you can use any directory you wish. However, the stunnel.conf file must be in the
same directory as stunnel.exe.
If you wish to save the sample
stunnel.conf do it right after step 1 as step 2 replaces it
with one specific to Gmail.
I used standard
ports for incoming and outgoing mail so that any anti-virus program
would not need to be changed..
There may be firewall issues. I use Commodo and I had to allow
Stunnel to access the Internet. I turned Commodo off and tried
the Windows firewall without difficulty.
I made no attempt to configure anti-spam program in this setup.
Contributed to the Courier beta group
17-NOV-2007
by RockFox at Slippery Rock University off
PA USA
with thanks to Xeno for assistance in the
original install.